How to Group a Text Box and Clip Art
Lesson 22: Arranging Objects
/en/word2013/text-boxes-and-wordart/content/
Introduction
In Give-and-take, a folio may take multiple objects, such as pictures, shapes, and text boxes. Y'all can accommodate the objects the fashion you want by adjustment, ordering, rotating, and group them in diverse ways.
Optional: Download our practice certificate.
Modifying text wrapping
When pictures are first inserted, yous may discover that it's difficult to motion them. This is because by default, pictures are in line with the text. To suit them, yous'll always demand to choose a dissimilar text-wrapping setting. To review how to change text wrapping, visit our lesson on Pictures and Text Wrapping.
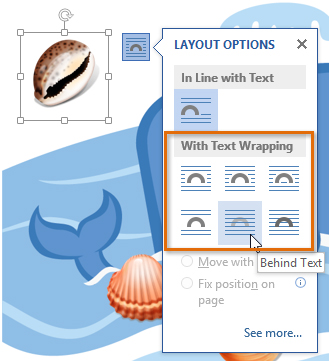 Selecting a text wrap option
To align two or more objects:
- Concord the Shift (or Ctrl) key and click the objects you want to align.
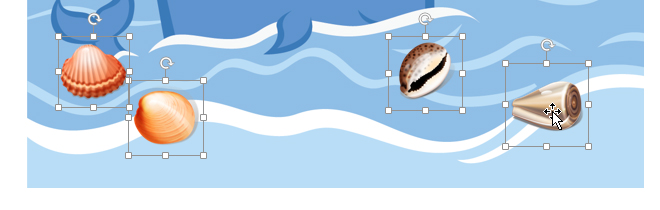 Selecting objects to align
 - From the Format tab, click the Align command and select one of the half-dozen alignment options.
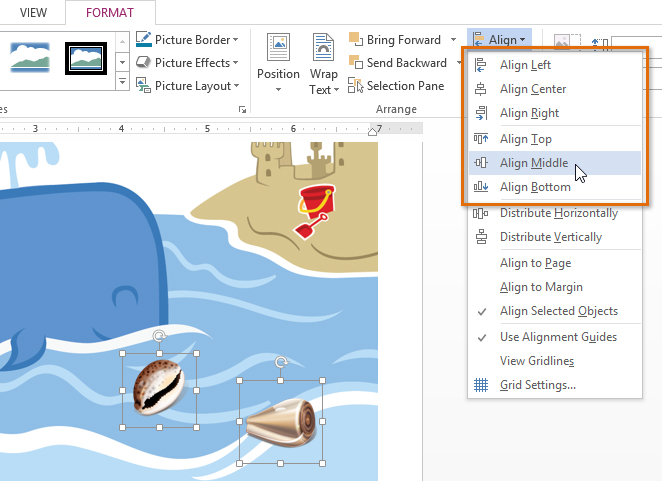 Choosing an alignment pick
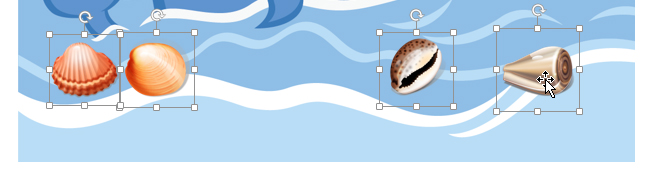
 - The objects will marshal based on the option you selected.
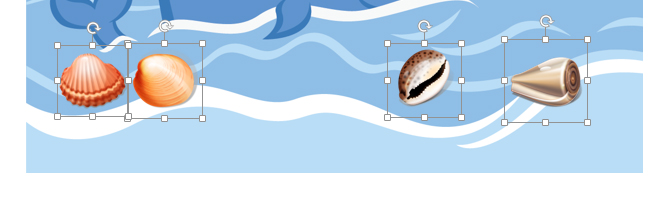 The aligned objects
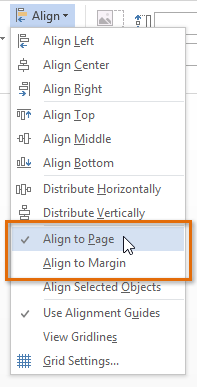
By default, Align Selected Objects will be selected, which will allow objects to be aligned without moving them to a different part of the page. If you lot want the objects to move to the peak or bottom of the folio, select Marshal to Page or Marshal to Margin before choosing an alignment option.
 Arranging objects to the folio
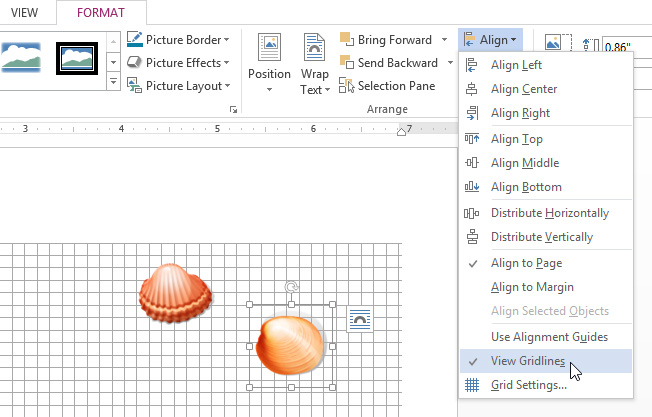
If you lot prefer to align objects manually, select View Gridlines. This option snaps objects to a filigree, making it easier for you to align them with the mouse.
 Turning on gridlines
To distribute objects evenly:
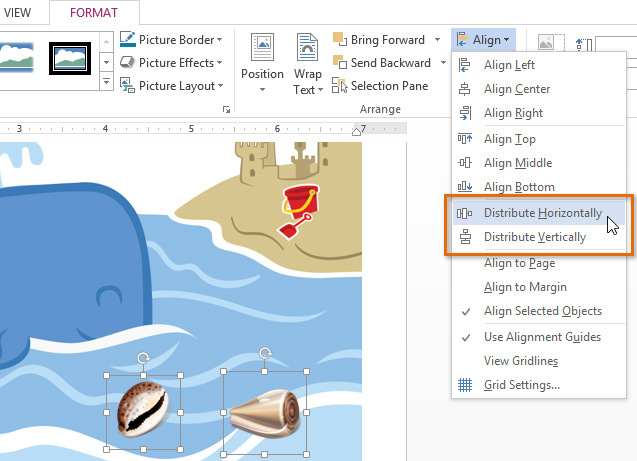
If you have arranged objects in a row or column, you may want them to be an equal altitude from i another for a neater appearance. You can do this past distributing the objects horizontally or vertically.
- Concur the Shift (or Ctrl) key and click the objects you want to align. The Format tab volition appear.
 Selecting objects to distribute
 - On the Format tab, click the Align command and select Distribute Horizontally or Distribute Vertically from the drop-downward carte du jour that appears.
 Selecting a distribute option
 - The objects will distribute evenly.
 The distributed objects
Ordering and rotating objects
In addition to aligning objects, Word gives you lot the ability to arrange objects in a specific guild. The ordering is important when two or more than objects overlap because it will determine which objects are in the front end or the dorsum.
Agreement levels
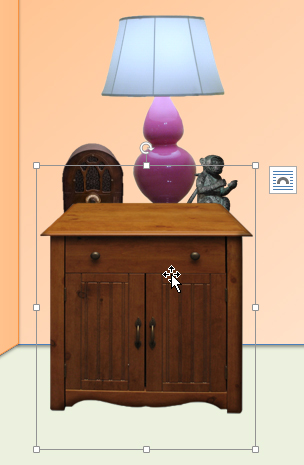
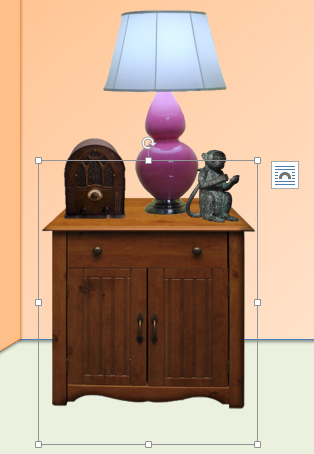
When objects are inserted into a document, they are placed on levels according to the order in which they were inserted into the document. In the paradigm beneath, the table is on the acme level, merely we can change the level to put it behind the other objects.
 The top level
To change the ordering by one level:
In our case, we'll alter the ordering and then the table moves back by 1 level.
- Select an object. The Format tab will announced. The selected object
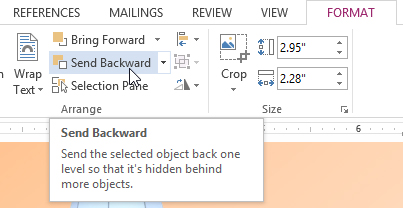
- From the Format tab, click the Bring Forward or Transport Backward control to change the object'southward ordering by one level. If the object overlaps with more than one other object, you lot may need to click the command several times to attain the desired ordering. In our example, nosotros'll select Transport Backward.
 Sending an object astern
 - The objects volition reorder. In our example, the table is now 1 level below the statue.
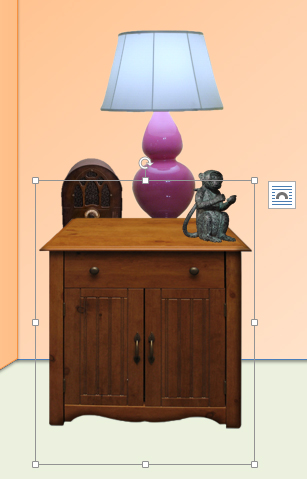 The reordered objects
If you take several objects placed on elevation of each other, it may be difficult to select an individual object. The Selection Pane allows you to easily drag an object to a new location. To admission the Selection Pane, click Selection Pane on the Format tab.
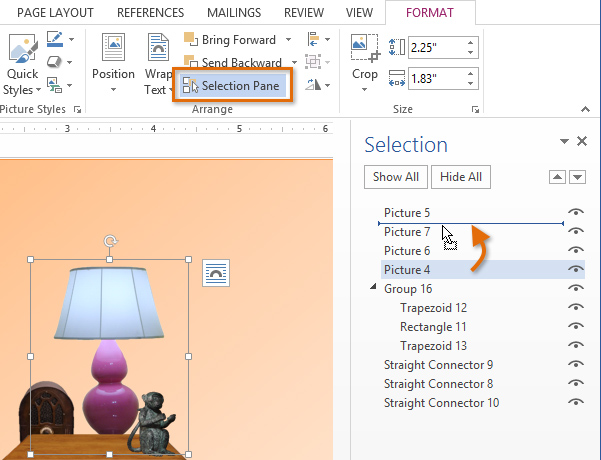 Arranging objects in the Selection Pane
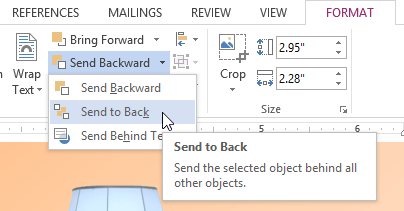
To bring an object to the forepart or back:
If you want to motility an object behind or in front of several objects, it'due south unremarkably faster to bring it to front or send it to back instead of clicking the ordering commands multiple times.
- Select an object. The Format tab will appear.
- From the Format tab, click the Bring Forward or Send Astern drop-down box.
- From the driblet-downward bill of fare, select Bring to Front or Send to Back.
 Sending an object to the back
 - The objects will reorder.
 The reordered objects
To rotate an object:
- Select an object. The Format tab will appear.
- From the Format tab, click the Rotate command. A driblet-down bill of fare will announced.
- Select the desired rotation selection.
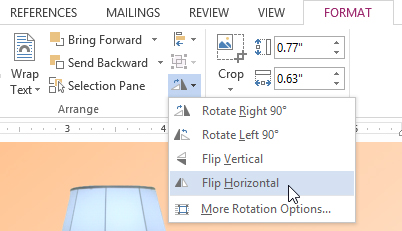 Selecting a rotation option
 - The object volition rotate.
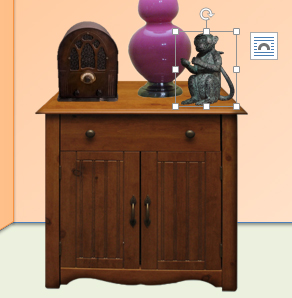 The rotated image
Grouping objects
At times, you may want to grouping multiple objects into 1 object then they will stay together if they are moved or resized. Ofttimes, this is easier than selecting all of the objects every time you want to movement them. Shapes, clip art, and text boxes tin exist grouped together.
To group objects:
- Concur the Shift (or Ctrl) key and click the objects you desire to group.
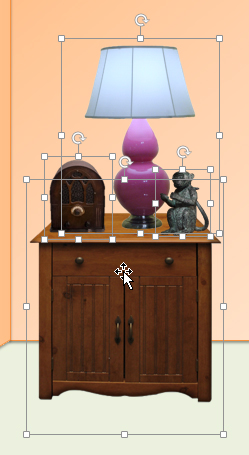 Selecting multiple objects
 - From the Format tab, click the Group command and select Group.
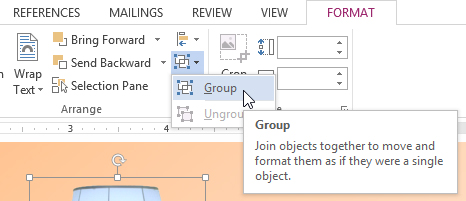 Grouping objects
 - The selected objects will at present be grouped. There volition be a single box with sizing handles effectually the unabridged group to show that they are i object. Yous can now move or resize all of the objects at once.
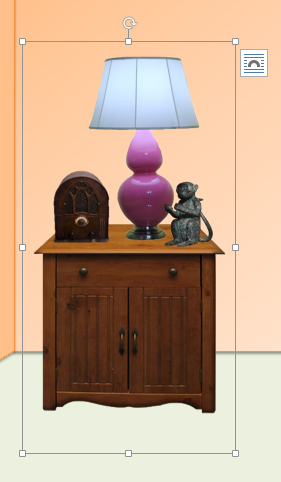 The grouped objects
If you lot want to edit or motion ane of the objects in the group, double-click to select the object. You lot can then edit it or move it to the desired location.
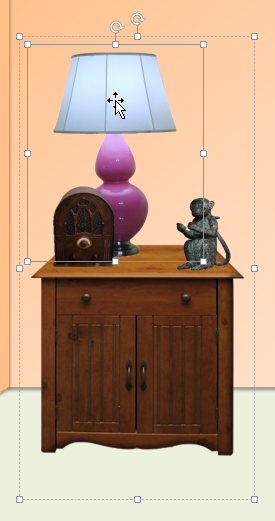 Moving an object within a group
To ungroup objects:
- Select the grouped object you desire to ungroup.
- From the Format tab, click the Group command and select Ungroup.
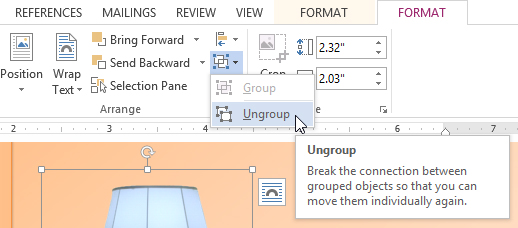 Ungrouping objects
 - The objects will be ungrouped.
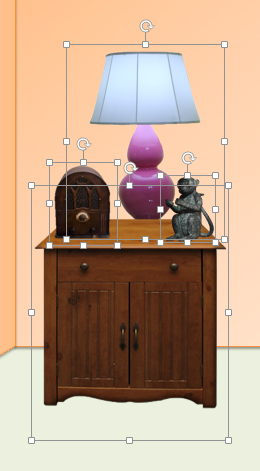 The ungrouped objects
Claiming!
- Open an existing Word 2013 document that contains objects or images. If you want, you tin can use our practice document.
- Practice using the marshal options from the Align control. If you lot're using the case, align the seashells and starfish so they are in a row.
- Practise using the rotate options.
- Create a new shape, then send it behind the other objects. If you're using the instance, bring the fish forrad in front of the red text box.
- Group the objects into one object. If you're using the example, group the scarlet text box and the fish.
- Move the grouped object to a new location on the certificate.
- Ungroup the object.
/en/word2013/tables/content/
Source: https://edu.gcfglobal.org/en/word2013/arranging-objects/1/
0 Response to "How to Group a Text Box and Clip Art"
Post a Comment